Initializing Phaser
Phaser is an open-source framework for developing 2D games that works with TypeScript. Rendering graphics, managing game physics, and utilizing assets like sounds are built into the functionality and, therefore, easily accessible.
With Phaser, we can focus on producing the code to run a game rather than having to create everything from scratch.
Hello Phaser
Phaser is already included in the app’s setup. Now, we just need to create specific configurations for how we want Phaser to run by defining several properties.
We will do this in the Config.ts file — which can be found in our app file directory. You can get there by selecting src —> game —> Config.ts.
In this file, add the following gameConfig object as an export.
// Config.ts

import Phaser from "phaser";

export var gameConfig = {
  type: Phaser.AUTO,
  width: 960,
  height: 600,
  roundPixels: true,
  backgroundColor: 0x000000,
  physics: {
    default: 'arcade',
    arcade: {
      gravity: { y: 300 },
      // debug: true,
    },
  },
};
We are telling Phaser that we want to create a game that is 960 pixels wide and 600 pixels tall with a black background color.
The physics property is specific to Phaser and offers several built-in options for physics engines. We will use the arcade version and specify a gravity value of 300. This pulls objects downward at a rate of 300 pixels per second squared.
The debug: true line is commented out for now, but this allows us to enable visual indicators in the game to help debug physics behavior. We will use this later in the tutorial.
If you have an error saying, “Cannot find name ‘Phaser’…” then you need to make sure to import Phaser into this file with the line: import Phaser from 'phaser' at the top of the file before the export var gameConfig. This allows this file to use the Phaser functionalities that we’ve setup in the app as a whole.
Initializing the Game: Check the Main Entry Point
We need to make sure there is an instance of an entry point for Phaser in the app itself with TypeScript.
This is one of the few places where our code will be different based on the development option. This is because the file structure is slightly different. Choose the version that is appropriate for how you are developing the game.
StackBlitz Version
Update the index.ts file to initialize a new Phaser.Game with the gameConfig object.
// index.ts

import 'phaser';

import { gameConfig } from './src/Config';

export default new Phaser.Game(gameConfig);

window.focus();
GitHub Version
In standard projects, this happens in the main.ts file which you can find in the src directory (under the game directory).
Make sure that your main.ts file looks like this:
import Phaser from 'phaser'

import { gameConfig } from './game/Config';

export default new Phaser.Game(gameConfig)- This uses the gameConfig object that we created to create a “new” instance of Phaser.Game class which is the core controller for the entire game. This handles the creation of the renderer, loops, timing, physics integration, and more.
- This instance is then exported as the default export of the whole module.
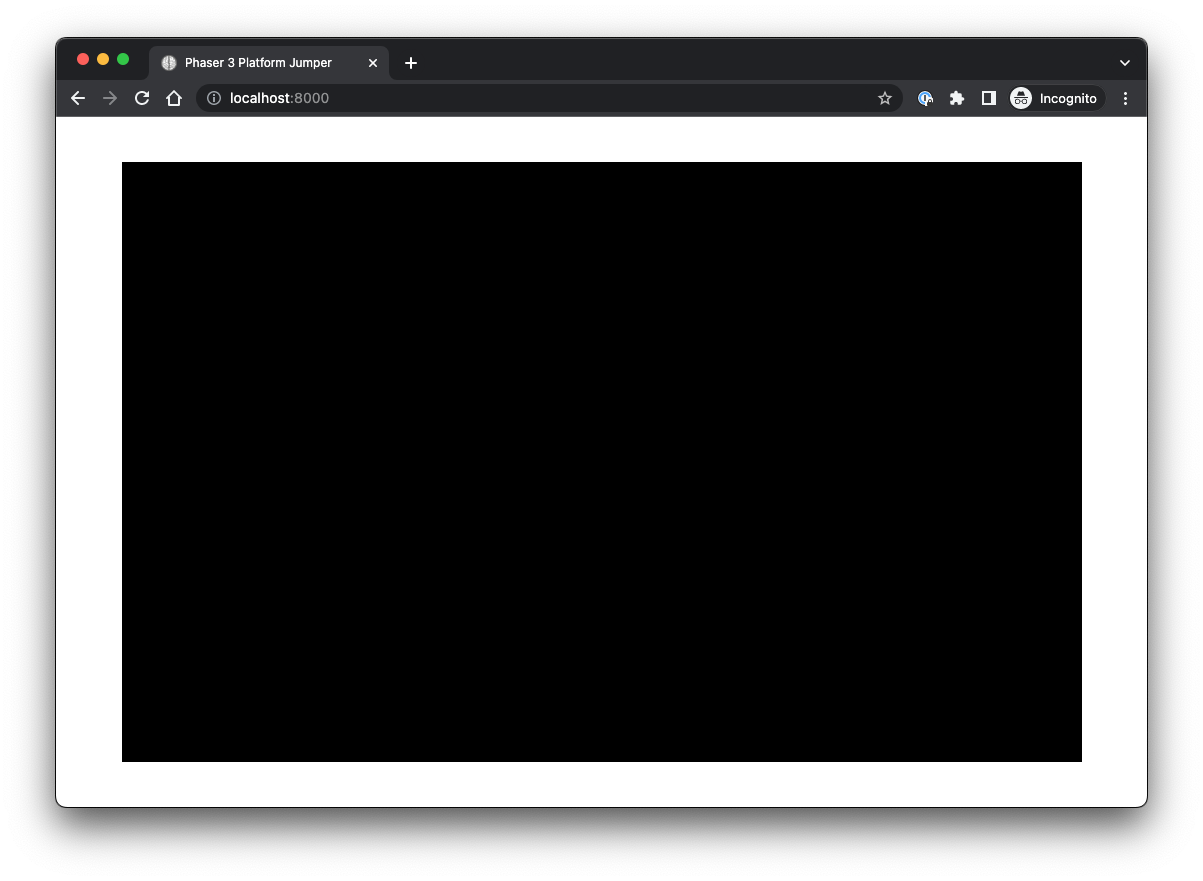
Checkpoint
In your browser, you should see a simple black box.
Depending on your IDE, you might need to save your work in each file you've touched for the changes to take effect.
🎉 Important 🎉
A note on the tutorial commentary
As we start to build out our game, it is not going to make sense for us to show all of the code on every single snippet. To save on space, I am only going to show you just enough to know what code needs to be updated and where it needs to go.
The code that is being omitted will be represented with this //... syntax. This does not go into your code!
Here are a few examples to illustrate what I mean. This is the entire Config.ts file without any physics or scene information within the gameConfig object.
// Config.ts

export var gameConfig = {
  type: Phaser.AUTO,
  width: 960,
  height: 600,
  roundPixels: true,
  backgroundColor: 0x000000,
};
Now I want to indicate that you need to add two imports to the top of the file and I am going to draw emphasis on this while omitting the parts of the code not relevant in this step.
// Config.ts

import { Boot } from './Boot';
import { Play } from './Play';

export var gameConfig = {
  //... I am hiding the internals of this object
};
I am not showing the inside of the gameConfig object while leaving the "shell" of it in place you can use that as a reference point to put your imports.
What would it look like if I wanted to add physics information to the gameConfig object while hiding the rest of the code?
// Config.ts
//... I am hiding the imports

export var gameConfig = {
  //... I am hiding properties
  backgroundColor: 0x000000,
  physics: {
    default: 'arcade',
    arcade: {
      gravity: { y: 300 },
      // debug: true,
    },
  },
};
In this case, I am hiding the import statements as well as additional properties in the object itself. I am only leaving in the backgroundColor property so that you can use that as a point of reference to know that the physics object goes directly under that.
We will add one more example to be thorough. We want to add the scene property at the bottom of the object. How would we add a comment so that someone knows where to add that one line of code?
// Config.ts

import { Boot } from './Boot';
import { Play } from './Play';

export var gameConfig = {
  type: Phaser.AUTO,
  width: 960,
  height: 600,
  roundPixels: true,
  backgroundColor: 0x000000,
  physics: {
    default: 'arcade',
    arcade: {
      gravity: { y: 300 },
      // debug: true,
    },
  },
  scene: [Boot, Play],
};
This would be a good example.
// Config.ts
//...

export var gameConfig = {
  //...
  physics: {
    default: 'arcade',
    arcade: {
      gravity: { y: 300 },
      // debug: true,
    },
  },
  scene: [Boot, Play],
};
The one thing that jumps out at me is that we have a bunch of information in the physics object that has nothing to do with the scene property. We could take it a step further with this example.
// Config.ts
//...

export var gameConfig = {
  //...
  physics: {
    //...
  },
  scene: [Boot, Play],
};
The idea is to establish a relative position based on the surrounding code and then update accordingly without having to see the entirety of the code.