The Main Character
Creating the character to play the game will require utilizing all of the gameplay flow.
We need to preload() the assets for the character in the Boot scene that will be used to execute the character’s functionality in the Play scene.

Step 1 — Create a spritesheet in the preload() Method of Boot.ts
A spritesheet is a single image file that contains multiple frames or pictures that are used to animate a character/object within a game.
- This will reference Phaser’s load property.
- spritesheet — takes three arguments:
- Key — 'hero' — is the name of the spritesheet that we can now use to reference this image
- 'images/hero.png' — is the path to the image file being used for the spritesheet.
- Object with properties — this will include frameWidth and frameHeight to define the size of each individual frame or picture within the sprite. In this case, each frame is 36 pixels wide and 42 pixels tall.
- Once the image is loaded and the spritesheet is created, it can be used to animate the hero character in the game.
// Boot.ts
export class Boot extends Phaser.Scene {
  //...

  preload() {
    //...

    this.load.spritesheet('hero', 'images/hero.png', {
      frameWidth: 36,
      frameHeight: 42,
    });
  }

	//...
}
Step 2 — Create a New Class Called Hero in the Hero.ts File
This will represent the main game character and be an extension of the Phase.Physics.Arcade.Sprite class — which is built-in to Phaser and provides functionality for moving sprites around the game.
Begin by importing the Play class so that we can access that scene — which the character needs in order to act within the game.
Then, define a constructor. This will be called whenever a new Hero is created (whether at the beginning of a game, a new level, or a restart). It should take three arguments:
- A reference to the game scene
- The initial x coordinate
- The initial y coordinate
- This will determine where the character starts on the screen.
Inside the constructor, the super() function is called — which passes the arguments to the parent class to create a new sprite object.
- The sprite is given an image called 'hero' which we preloaded in the Boot scene and are now referencing.
Finally, the setOrigin() function is called to set the center point of the sprite. Here, we want the “center” to be the middle of the sprite so that is rotates and moves more naturally as all actions will start from wherever we set the origin.
The initial setup of the Hero.ts file should look like this:
// Hero.ts
import { Play } from './Play';

export class Hero extends Phaser.Physics.Arcade.Sprite {
  constructor(scene: Play, x, y) {
    super(scene, x, y, 'hero');
    this.setOrigin(0.5, 0.5);
  }
}
Step 3 — Incorporate the Hero into the Level Scene
In the Level.ts file, we need to import the Hero class and create a local member reference (called hero) inside the class itself.
- This should use a non-null assertion operator (!) to tell TypeScript to ignore the possibility that this property may be undefined.
// Level.ts
import { Hero } from './Hero';
import { Play } from './Play';

export class Level {
  hero!: Hero;

  //...
}
Defining a groups Property
This will be used to keep track of the groups we create within the game. The first group that we are going to keep track of is the players group.
- The groups property should have a required (non-null) assertion operator.
- We also want to “strongly type” this property by using a type annotation as an object with a dynamic property of key that will be a string.
- The value of this object should be the Phaser.Arcade.Group object — this is used for physics objects so that they can move and interact with other physics objects.
Then, in the constructor, we will assign an object to the groups property within the class.
- The object will have a players key and we will add the “players” to a group so that they can interact together.
// Level.ts
import { Hero } from './Hero';
import { Play } from './Play';

export class Level {
  hero!: Hero;
  platforms!: Phaser.Physics.Arcade.StaticGroup;
  groups!: { [key: string]: Phaser.Physics.Arcade.Group };

  constructor(private scene: Play) {
    this.platforms = this.scene.physics.add.staticGroup();
    this.groups = {
      players: this.scene.physics.add.group(),
    };
  }
  //...
}
Step 4 — Create a Method to Spawn the Hero in the Game
Create a method in the Level.ts file called spawnHero() that takes a single argument (hero). This will be a reference to the object containing the information about the hero character (such as its position on the screen).
- Inside the method, create a new hero object of type Hero.
- Call the constructor of the Hero class with its three arguments (reference to game scene, x coordinate, y coordinate).
After creating the hero, this method adds it to the players group using the add() method.
Then, call spawnHero() from the loadLevel() method so that the character, with its information and group association, is now a part of the level.
// Level.ts
import { Hero } from './Hero';
import { Play } from './Play';

export class Level {
  //...
  loadLevel(data) {
    this.spawnBG();
    this.spawnPlatforms(data.platforms);
    this.spawnHero(data.hero);
  }

  spawnHero(hero) {
    this.hero = new Hero(this.scene, hero.x, hero.y); // Create the hero
    this.groups.players.add(this.hero, true); // Add the hero to the scene
  }

  //...
}
Step 5 — Create Boundaries for the Hero’s Movement
We need to set a property on the hero object to make sure that it cannot move outside the bounds of the game world.
- The setCollideWorldBounds() method needs to be called on the hero object. This takes a single argument: a boolean with a value of true.
- When this is set to true, it means that the hero character will be prevented from moving outside the boundaries of the game world. This is important because it ensures that the hero character always stays within the playable area of the game and cannot get stuck or lost in inaccessible areas. Essentially, we need this character to stay on the screen!
// Level.ts
spawnHero(hero) {
  this.hero = new Hero(this.scene, hero.x, hero.y);
  this.groups.players.add(this.hero, true);

  // Now that hero has been added to the scene...
  this.hero.setCollideWorldBounds(true);
}
The entire Level class in Level.ts should now look like this:
// Level.ts
import { Hero } from './Hero';
import { Play } from './Play';
export class Level {
hero!: Hero;
platforms!: Phaser.Physics.Arcade.StaticGroup;
groups!: { [key: string]: Phaser.Physics.Arcade.Group };
constructor(private scene: Play) {
this.platforms = this.scene.physics.add.staticGroup();
this.groups = {
players: this.scene.physics.add.group(),
};
}
loadLevel(data) {
this.spawnBG();
this.spawnPlatforms(data.platforms);
this.spawnHero(data.hero);
}
spawnHero(hero) {
this.hero = new Hero(this.scene, hero.x, hero.y);
this.groups.players.add(this.hero, true);
// Now that hero has been added to the scene...
this.hero.setCollideWorldBounds(true);
}
spawnPlatforms(platforms) {
platforms.forEach((platform) => {
const _platform = this.spawnPlatform(platform);
this.platforms.add(_platform);
});
}
spawnPlatform(platform) {
const _platform = this.scene.add.sprite(
platform.x,
platform.y,
platform.image
);
_platform.setOrigin(0, 0);
return _platform;
}
spawnBG() {
const bg = this.scene.add.image(0, 0, 'background');
bg.setOrigin(0, 0);
}
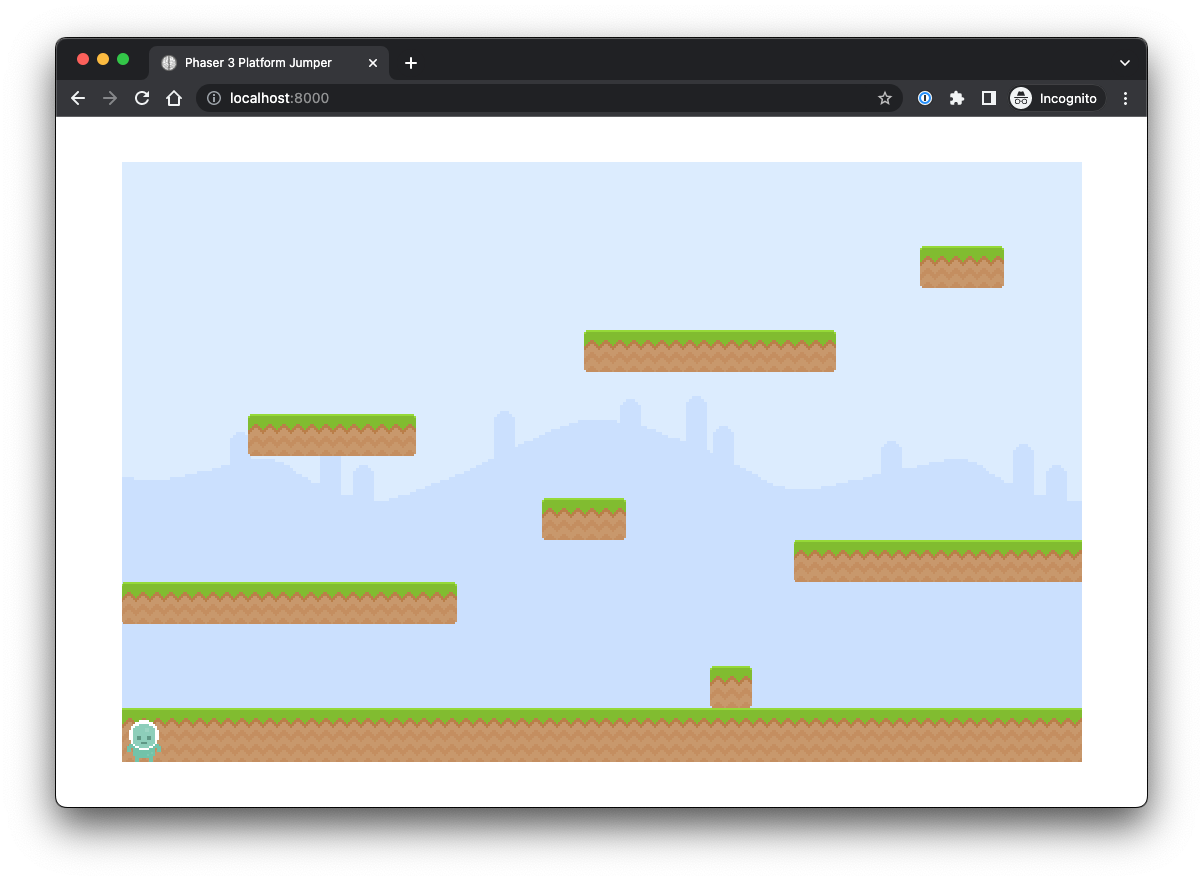
}Checkpoint
- There should now be a character on the screen in the bottom left.